Cross‑stitch is often seen as a craft where you follow a pre‑made pattern step by step. But what if you could break free from ready‑made designs and create something truly unique — something that reflects your personal style and vision? Designing your own cross‑stitch masterpiece might seem daunting at first, but with the right approach, it’s an incredibly rewarding creative journey. Let’s walk through the process.
Step 1. Find your inspiration
Start by gathering visual ideas. Inspiration can come from anywhere:
- a favourite photograph;
- a piece of artwork;
- nature (flowers, landscapes, animals);
- movie scenes or cartoon characters;
- typography and quotes;
- abstract shapes and colour combinations.
Create a mood board (physical or digital) to collect colours, textures, and themes that resonate with you.
Step 2. Choose your image
Pick a clear, high‑resolution image. Simple images with distinct shapes and contrast work best for cross‑stitch. If your image is too detailed or complex, consider simplifying it using photo editing software.
Tips for image selection:
- Look for strong contrast between light and dark areas.
- Fewer colours usually mean a more manageable design.
- Avoid images with lots of fine details or gradients.
Step 3. Convert the image to a cross‑stitch pattern
You have two options: do it manually or use software.
Option A: Manual conversion
- Print your image and overlay it with graph paper (or draw a grid directly on the printout).
- Decide on the grid size — this will determine the level of detail. A larger grid (fewer squares per inch) means a simpler, more pixelated look.
- For each square on the grid, choose the dominant colour.
- Transfer this colour scheme to a blank grid — this is your basic pattern.
Option B: Use digital tools
Several free and paid online tools can automate this process:
- Pic2Pat: converts photos into cross‑stitch patterns.
- Cross Stitch Hero: offers pattern‑making features and mobile app support.
- Pattern Maker: a popular desktop software for designing patterns.
These tools let you adjust the number of colours, canvas size, and stitch count.
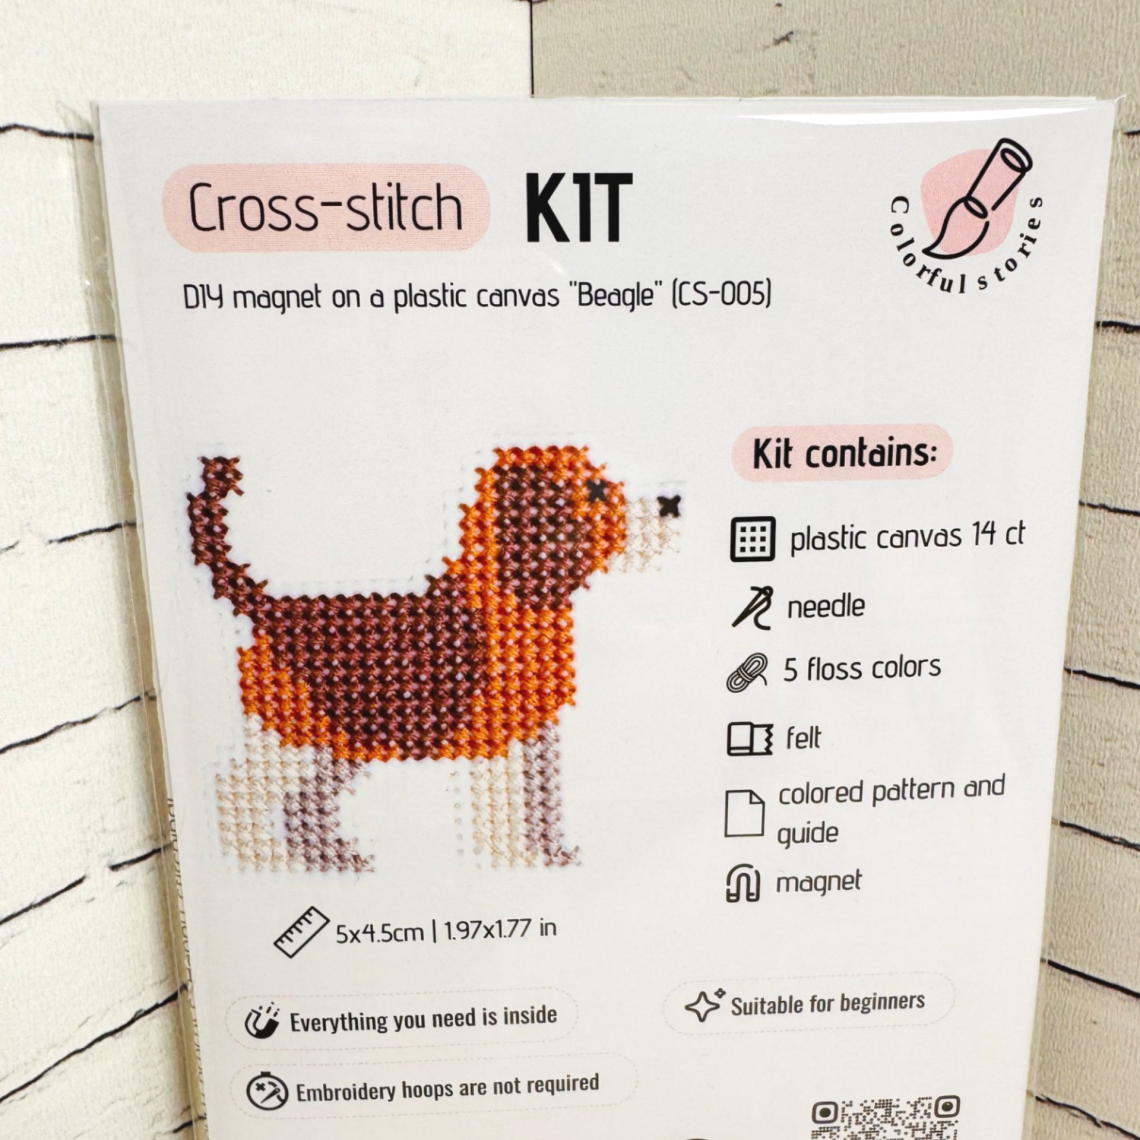
Step 4. Select materials
Once you have your pattern, pick the right supplies:
- Fabric: Aida cloth is the most common choice. The “count” (number of squares per inch) affects the final size. Higher count = smaller, more detailed work.
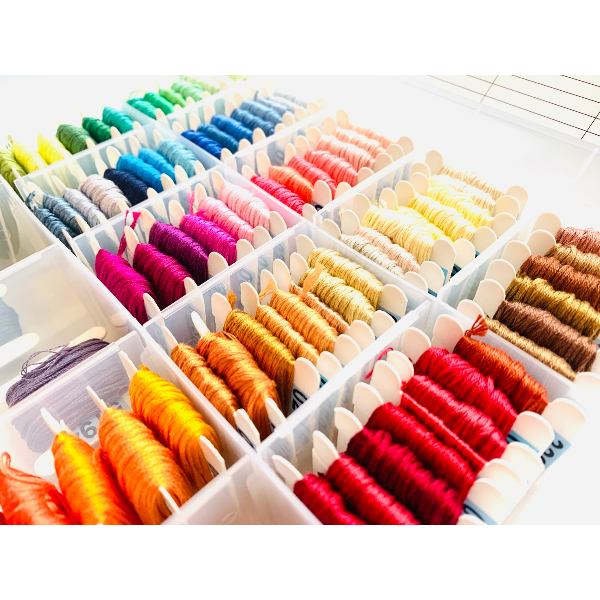
- Threads: Use standard cotton embroidery floss (like DMC). Match the colours in your pattern to the thread chart.
- Needle: A blunt‑tipped cross‑stitch needle in size 24 or 26 usually works best.
- Hoop or frame: Helps keep the fabric taut and stitches even.
Step 5. Plan your colour palette
Simplify your palette to avoid overwhelming complexity:
- Limit the number of colours — 10–15 is a good starting point.
- Use shades wisely: a few tones of the same colour can add depth without clutter.
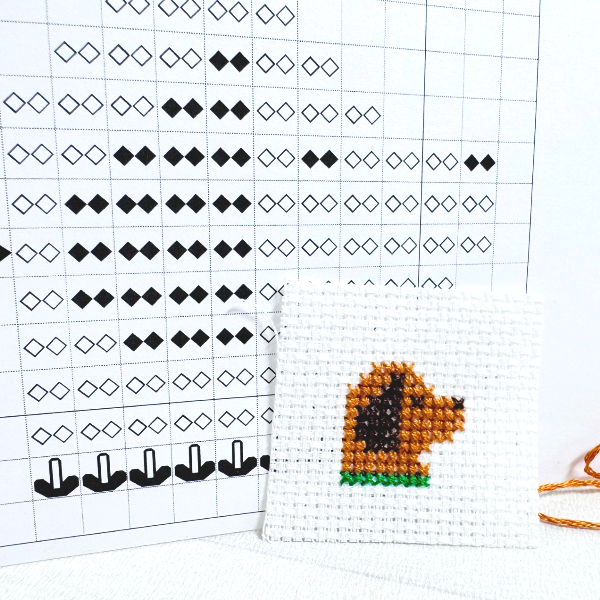
- Consider using symbols or numbers on your pattern instead of colour blocks for easier reading.
Step 6. Test a small section
Before committing to the full design, stitch a small sample swatch. This helps you:
- verify colour combinations;
- check if the level of detail is right;
- adjust the pattern if needed.
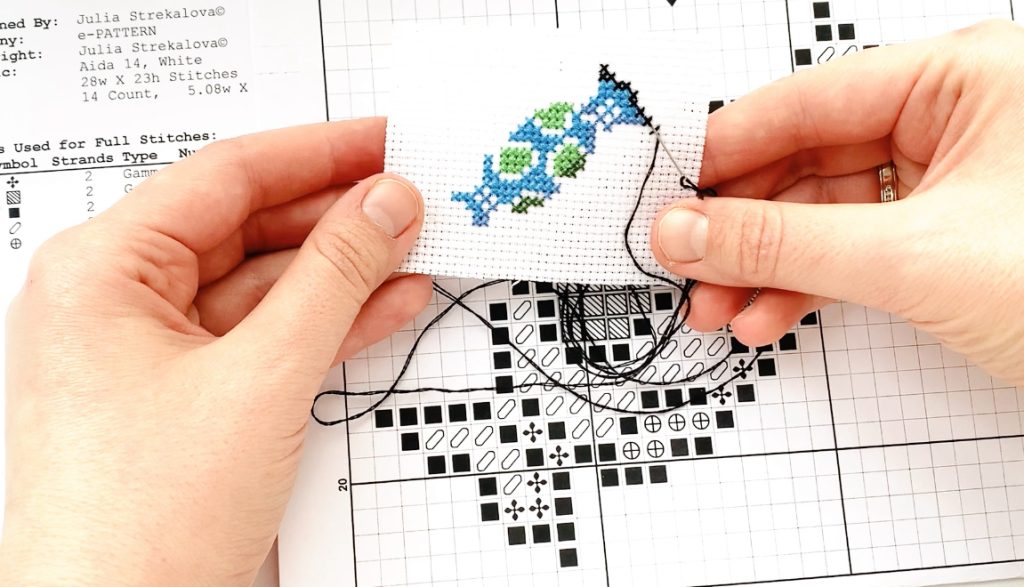
Step 7. Start stitching
Now you’re ready to begin!
- Begin from the centre of the design or from one corner — whichever feels more comfortable.
- Work in small sections to keep track of your progress.
- Keep your pattern, thread chart, and image reference nearby.
- Take breaks to avoid eye strain and hand fatigue.
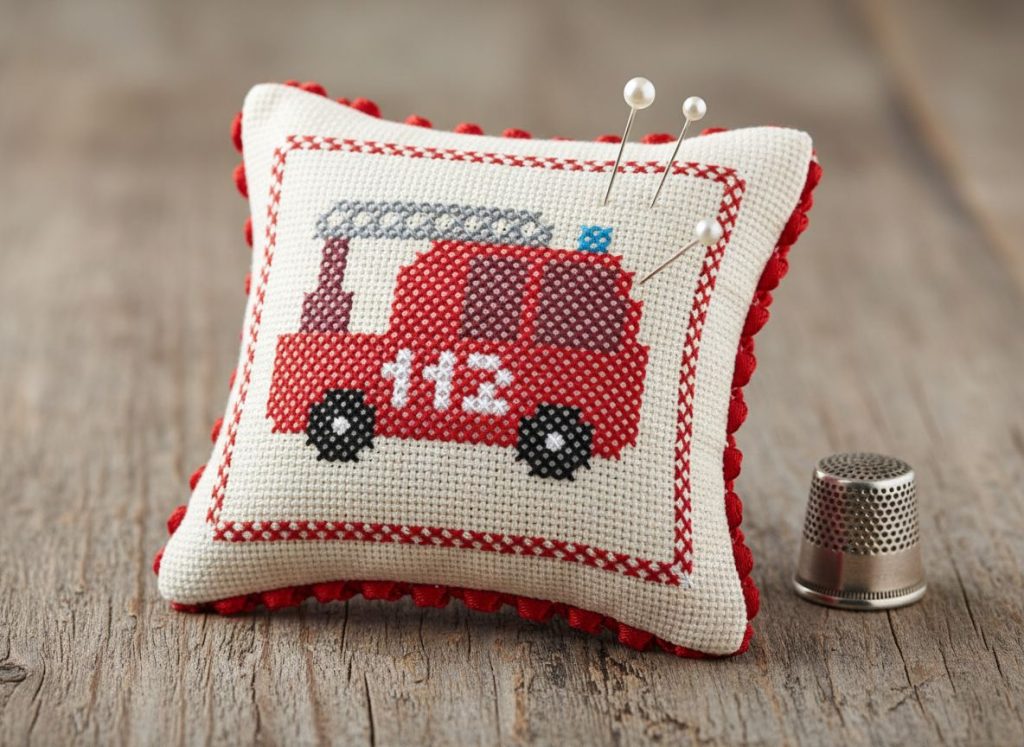
Step 8. Finish and frame
When your masterpiece is complete:
- Gently hand‑wash the piece in lukewarm water with mild soap.
- Press it flat between two clean towels, then iron on low heat.
- Mount it in a hoop, frame it under glass, or sew it into a pillow or bag.
Final thoughts
Designing your own cross‑stitch pattern is more than just a crafting project — it’s a way to express yourself and turn everyday moments into art. Whether you’re stitching a portrait of your pet, a scene from your favourite book, or an abstract colour study, the process lets you own every stitch.
So grab a photo, fire up your software, and start turning inspiration into thread. Your next masterpiece is just a few stitches away!
Best selling products
-
Kit
Terrier Kit
Original price was: $25.00.$19.75Current price is: $19.75. -
Digital
Watercolor Flower
Original price was: $5.00.$3.30Current price is: $3.30. -
Digital
Agata
Original price was: $3.00.$1.98Current price is: $1.98. -
Digital
Ambulance
Original price was: $3.00.$1.98Current price is: $1.98. -
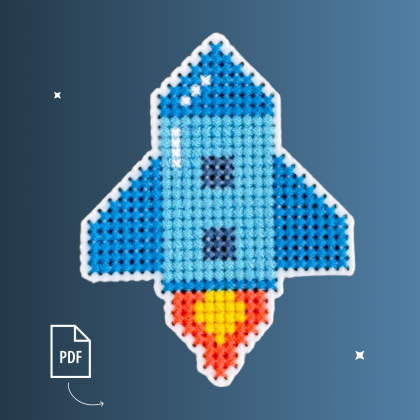
Digital
Rocket
Original price was: $3.00.$1.98Current price is: $1.98.