Cross‑stitch is a timeless craft that combines creativity with precision. But if you’re new to it, a cross‑stitch pattern might look like a secret code — full of symbols, numbers and grids. Don’t worry: once you understand the basics, reading a pattern becomes second nature. This guide will walk you through everything you need to read a cross‑stitch pattern like a pro — with SEO‑friendly tips to help you find and master your next project.
Why Learning to Read Patterns Matters
Knowing how to read a cross‑stitch pattern opens up endless creative possibilities. Instead of relying on pre‑printed kits, you can:
- choose any design you love;
- customise colours and sizes;
- create personalised gifts;
- join online stitching communities and share your work.
Let’s decode the pattern together!
Understanding the Pattern Chart
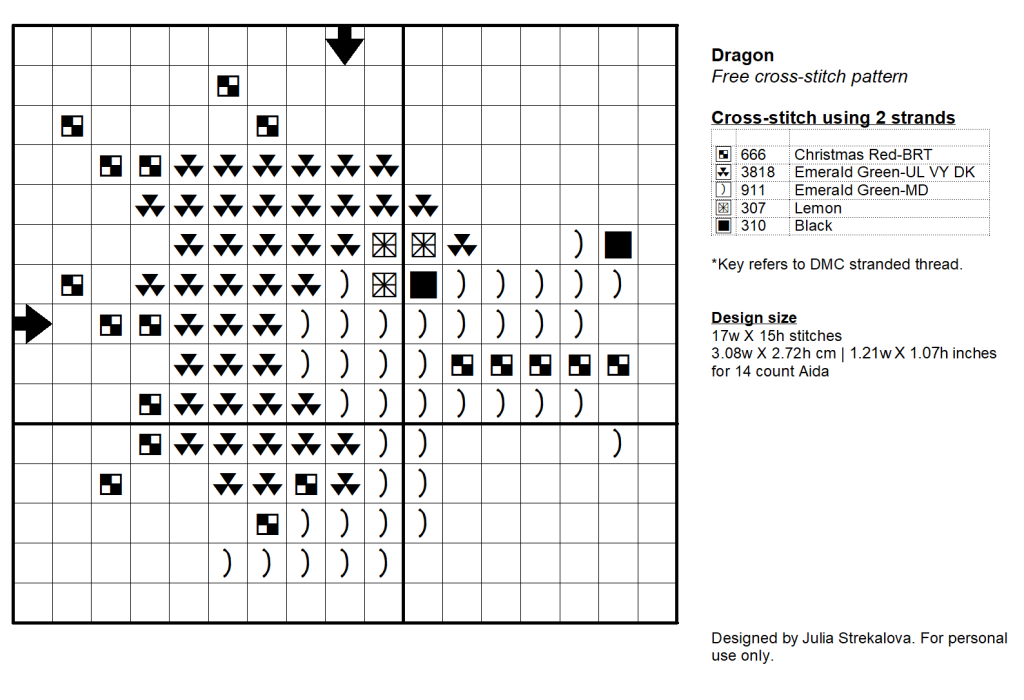
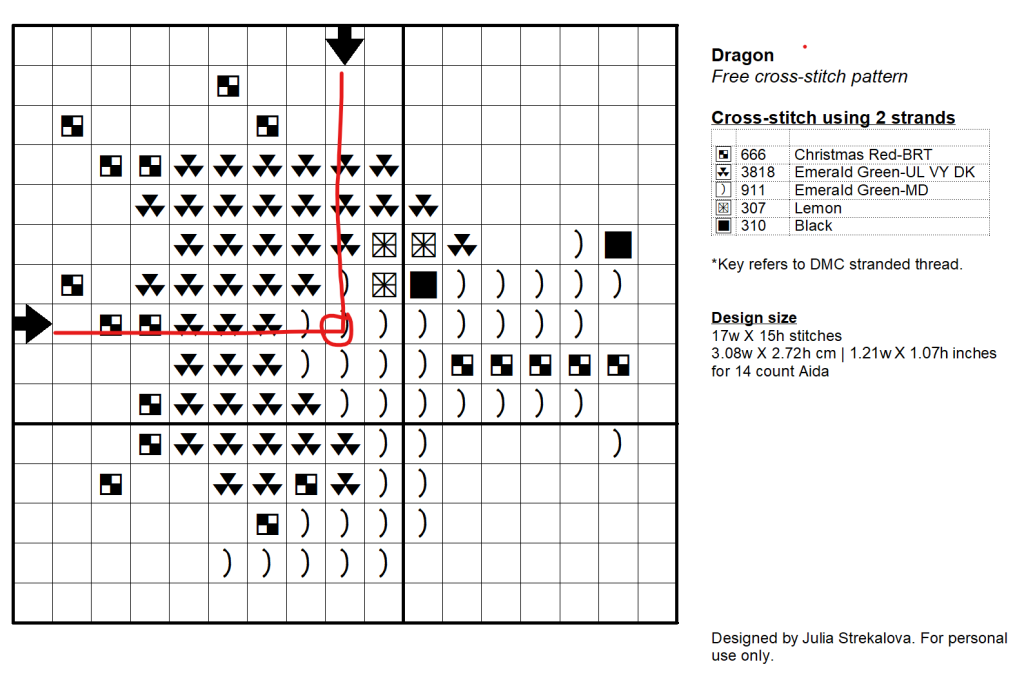
A cross‑stitch pattern is essentially a map for your project. It’s a grid where each square represents one cross‑stitch on your fabric. Inside each square is a symbol that tells you which colour thread to use.
Here are the key elements you’ll find on most patterns:
- Symbols. Each symbol — whether it’s a heart, triangle, letter or number — corresponds to a specific floss colour. For example:
- a circle might mean white;
- a triangle might mean red;
- the letter A might mean blue.
- Colour key (legend). This section is your translation guide. It shows which DMC floss number (the industry standard for embroidery threads) matches each symbol. It usually includes:
- symbol;
- DMC colour number;
- colour name;
- sometimes a small swatch of the actual colour.
- Grid lines. These help you stay organised. Thin lines separate individual stitches, while bold lines often mark every 10 × 10 squares. This makes it easier to count and keep your place.
- Centre marks. Look for arrows, bold lines or a shaded square at the centre of the grid. These marks help you position your design correctly on the fabric. Starting at the centre ensures your work stays balanced.
- Special stitches. Not all stitches are crosses. Your pattern might include:
- backstitch (shown as a straight line) — used for outlining and detail;
- French knots (often a small dot or asterisk) — for texture and dimension;
- half‑stitches or quarter‑stitches for shading.
Step‑by‑Step: How to Use the Pattern
Now that you know what everything means, here’s how to put it into practice:
Step 1. Find the centre
- Locate the centre marks on your pattern (usually where bold vertical and horizontal lines cross).
- Fold your fabric in half both ways to find its centre.
- Match the two centres. This ensures your design is perfectly positioned.
Step 2. Work in sections
Don’t try to do the whole pattern at once. Break it down:
- focus on one 10 × 10 block at a time;
- complete all stitches of one colour before moving to the next (this reduces thread changes);
- move outward from the centre in small, manageable sections.
Step 3. Mark your progress
Keep track of where you’ve stitched to avoid mistakes:
- use a light‑coloured highlighter to mark completed areas on a printed copy;
- or use a pencil to lightly shade finished squares;
- some stitchers use a small sticky note to cover completed sections.
Step 4. Count carefully
Accuracy is key in cross‑stitch:
- always double‑check your position on the grid;
- count rows and columns from a known point (like the centre);
- if you get lost, stop and re‑count — it’s easier to fix a small mistake early.
Step 5. Handle special stitches
When you see non‑cross symbols:
- for backstitch, wait until the main cross‑stitches are complete, then go back and add the outline;
- French knots are usually done last, after the surrounding area is stitched.
Bonus Tips for Success
- Print a second copy of your pattern to mark up. This keeps your original clean and reusable for future projects.
- Use a magnifying glass if the symbols are small — it makes reading the chart much easier.
- Organise your threads before you start. Lay out all the DMC colours you need and label them with their symbols.
- Invest in a light box or light pad. Placing your pattern under your fabric can help you see the grid and stay on track.
- Start simple. Choose a small pattern with 3–5 colours and a clear grid before tackling complex designs.
Common Mistakes to Avoid
- Starting in a corner. This often leads to an off‑centre design. Always begin at the marked centre.
- Ignoring the legend. Double‑check symbols against the colour key — similar shapes can be confusing.
- Stitching too tightly. Keep your tension even but relaxed to prevent puckering.
- Forgetting special stitches. Make a note of any backstitch or knots so you don’t miss them later.
Final Thoughts
Reading a cross‑stitch pattern isn’t magic — it’s a skill you can learn with practice. Start with a simple design, follow the chart carefully, and don’t rush. Before long, you’ll be reading patterns like a pro and creating beautiful handmade pieces you’re proud to display or gift.
Happy stitching!
Best selling products
-
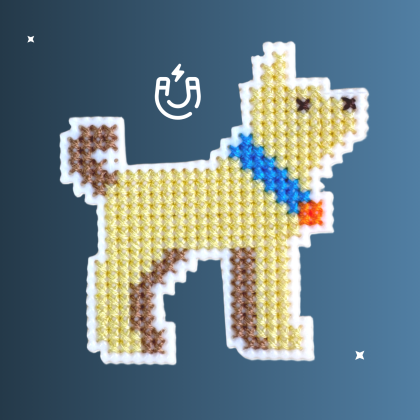
Kit
Terrier Kit
Original price was: $25.00.$19.75Current price is: $19.75. -
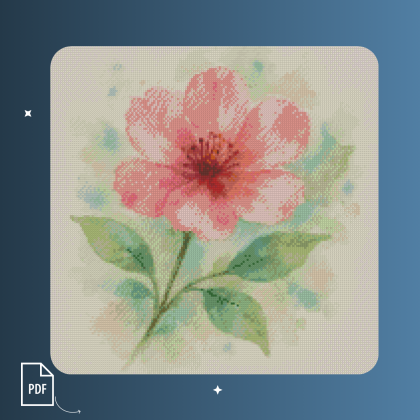
Digital
Watercolor Flower
Original price was: $5.00.$3.30Current price is: $3.30. -
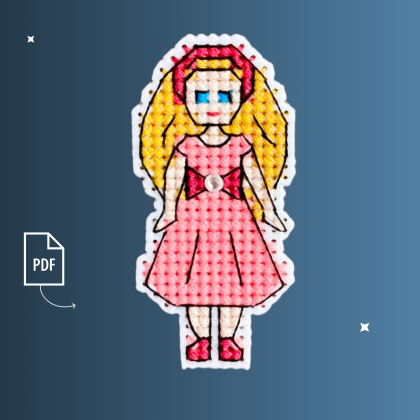
Digital
Agata
Original price was: $3.00.$1.98Current price is: $1.98. -
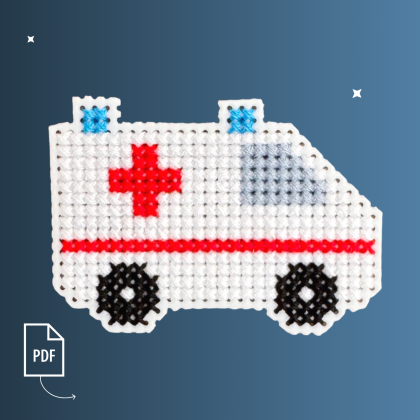
Digital
Ambulance
Original price was: $3.00.$1.98Current price is: $1.98. -
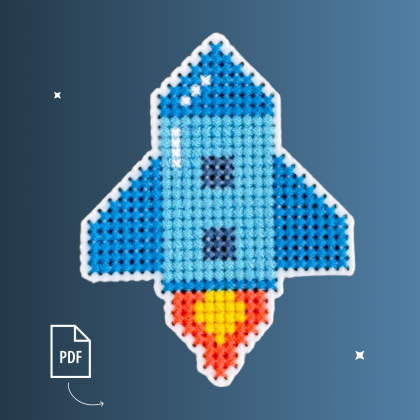
Digital
Rocket
Original price was: $3.00.$1.98Current price is: $1.98.