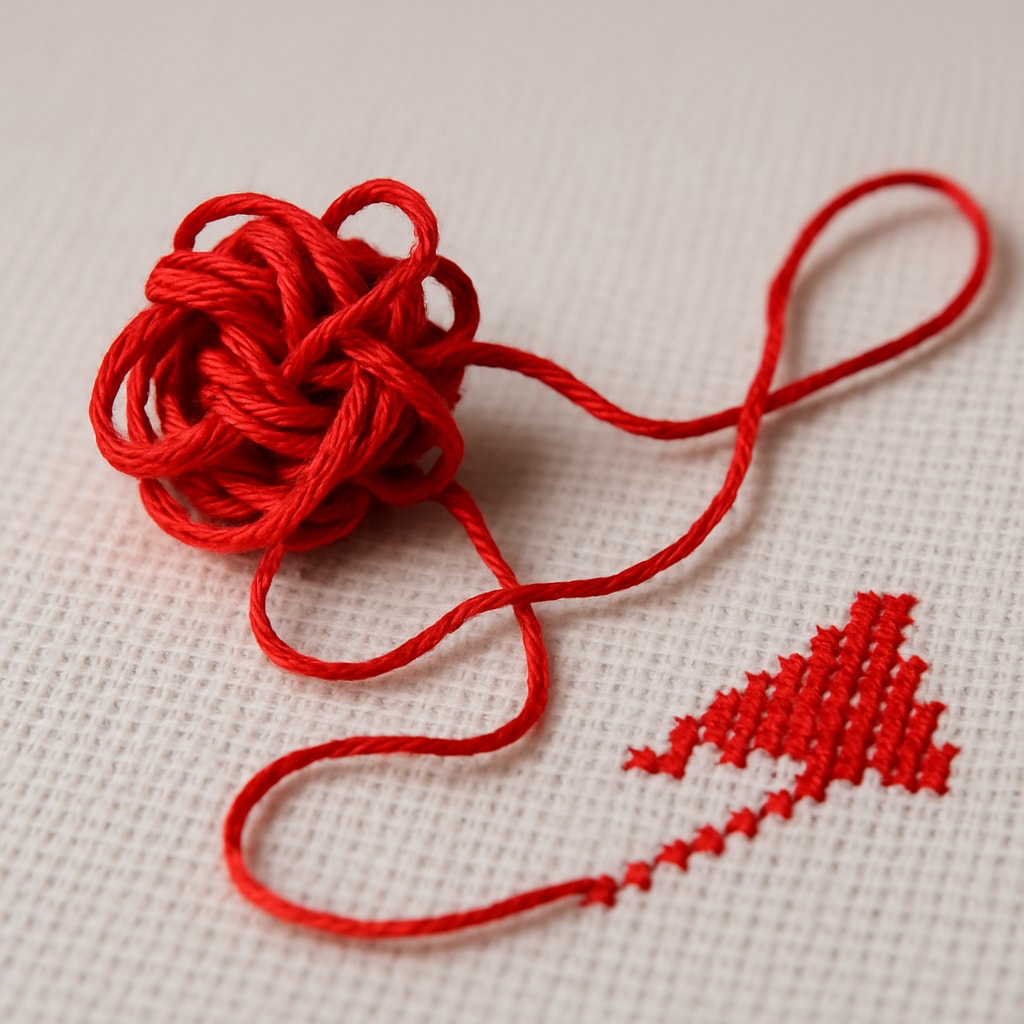
A flawless cross‑stitch front is only half the battle — a neat reverse side is the hallmark of a skilled embroiderer. An orderly back not only looks professional but also prevents fabric puckering and thread tangling. Let’s explore the key techniques for achieving a tidy reverse side.
1. Thread Fixation: Avoiding Knots
Knots on the reverse side are bulky and can cause puckering. Here are reliable knot‑free methods:
- The “waste knot” method:
- Tie a knot at the end of the thread.
- Place the knot on the fabric surface and start stitching over it with several initial stitches.
- After a few stitches, flip the fabric and cut off the knot.
- The thread is held in place by the stitches, no bulky knots remain.
- The “under stitches” method (weaving):
- Leave a 1,5–2 cm tail at the start.
- Make your first few stitches as usual.
- On the reverse side, weave the tail under the completed stitches for 1,5–2 cm.
- Trim off any excess.
- Starting in an existing stitch:
- If you’re adding a new thread near an area with completed stitches, pass the needle through the loops of a few existing stitches on the reverse.
- Then proceed with new stitches. This anchors the thread securely.
2. Hiding Knots and Thread Ends
If you must use a knot (e.g., for metallic threads), hide it properly:
- Make the knot as small as possible.
- Place it under a cluster of future stitches so it’s covered.
- For ending threads, use the weaving method: pass the needle under 4–6 completed stitches on the reverse, then trim close to the fabric.
Key tips for ending threads:
- Never tie a knot to finish.
- Weave the end under existing stitches in the same colour.
- Change threads at the edge of a colour block or at a natural break in the design.
- Trim the end flush with the fabric after weaving.
3. Stitch Arrangement on the Reverse Side
Consistent stitch direction on the reverse ensures a clean, professional look.
- Uniform direction: all half‑stitches (the bottom half of each cross) should run in the same direction. For example, always from the top left to the bottom right. This creates neat parallel lines on the back.
- No long jumps: avoid long “running” threads across empty areas. Instead:
- Change threads when moving to a distant section.
- If you must jump, keep the distance under 2–2,5 cm and pass the thread under 3–4 existing stitches to anchor it.
- Row work: work in rows rather than isolated stitches. Complete one horizontal row of half‑stitches, then return to complete the crosses. This keeps the reverse orderly.
- Block work: for large colour blocks, work them as a unit. This minimises thread jumps and keeps the back tidy.
4. Additional Practical Tips
- Use the correct thread length: a strand of 45–60 cm is ideal. Longer threads tangle and fray; shorter ones require frequent re‑threading.
- Mind the tension: don’t pull stitches too tight. They should lie flat without puckering the fabric. Test tension on a scrap piece first.
- Organise your work:
- Keep threads untangled as you work.
- Use separate bobbins or cards for each colour.
- Mark your progress on the pattern to avoid re‑stitching.
- Choose the right fabric: even‑weave fabrics (like Aida or linen) make it easier to keep stitches uniform.
- Check the reverse regularly: flip your work every few rows to spot and correct any long jumps or loose ends.
Summary Checklist for a Perfect Reverse Side
- No knots — use waste knots or weaving to secure threads.
- Thread ends woven under 4–6 stitches and trimmed flush.
- All half‑stitches on the reverse run in the same direction.
- Minimal jumps — change threads for distant sections.
- Work in rows or blocks to maintain order.
- Moderate tension — stitches lie flat without pulling the fabric.
- Regular checks — inspect the reverse every few rows.
A neat reverse side takes practice, but these techniques will help you achieve professional results. Remember: a beautiful reverse is a sign of true craftsmanship. Happy stitching!
Best selling products
-
Kit
Terrier Kit
Original price was: $25.00.$19.75Current price is: $19.75. -
Digital
Watercolor Flower
Original price was: $5.00.$3.30Current price is: $3.30. -
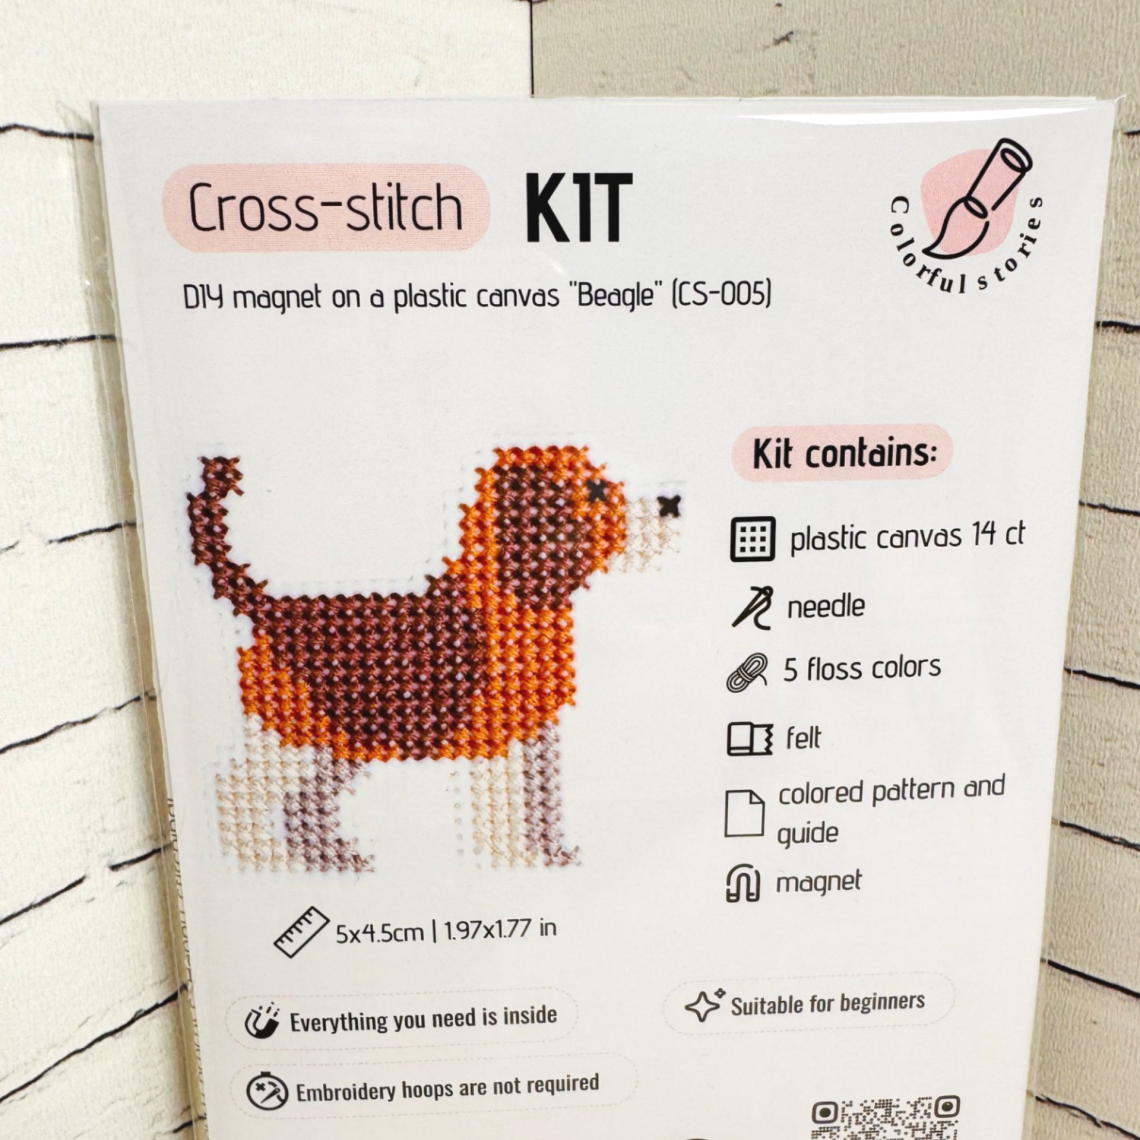
Kit
Beagle Kit
Original price was: $25.00.$19.75Current price is: $19.75. -
Digital
Agata
Original price was: $3.00.$1.98Current price is: $1.98. -
Digital
Ambulance
Original price was: $3.00.$1.98Current price is: $1.98. -
Digital
Rocket
Original price was: $3.00.$1.98Current price is: $1.98. -
Digital
Snowman
Original price was: $3.00.$1.98Current price is: $1.98. -
Digital
Winter Boy
Original price was: $3.00.$1.98Current price is: $1.98.